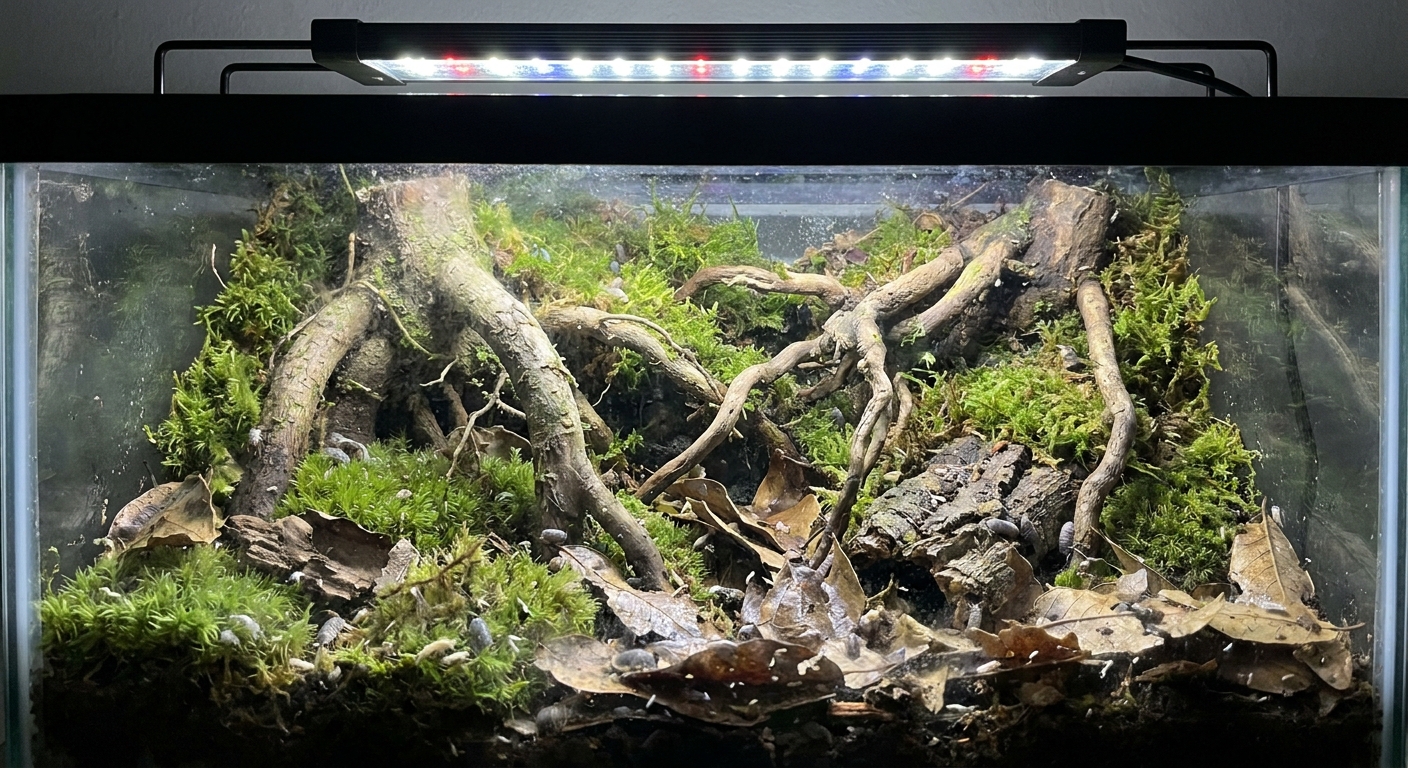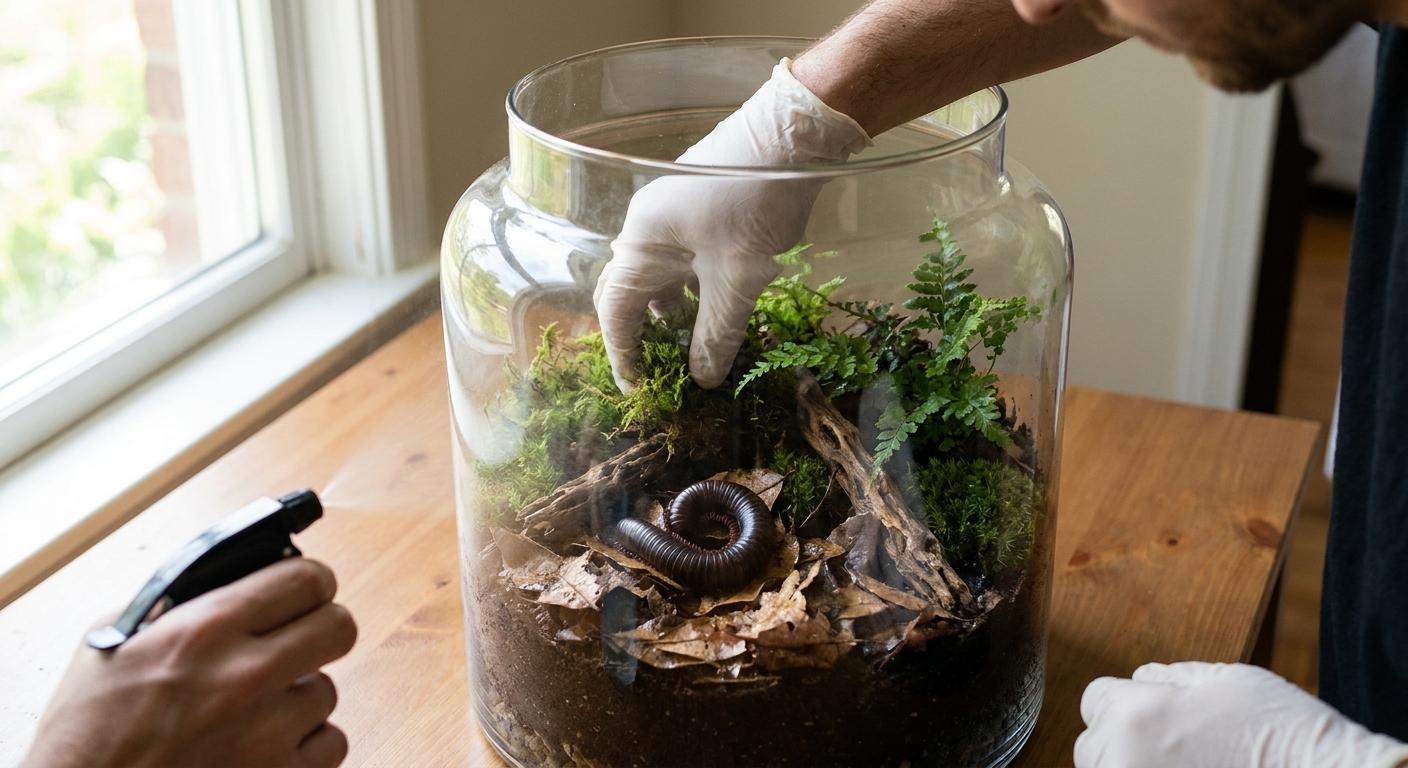
A bioactive vivarium is more than a planted tank with a few insects. It is a miniature biome—soil alive with microbes, mosses beading with condensation, isopods sifting leaf litter, roots hunting through the substrate for water and nutrients. When done well, a bioactive setup becomes partially self-maintaining, cycling waste into fertility and rewarding you with constant, subtle change.
Introduction: A Forest Under Glass
This guide walks through a complete, hands-on build: from drainage layers and substrate recipes to plant and moss selection, cleanup crews, and long-term care. Whether you're housing dart frogs, geckos, or keeping it animal-free as a display terrarium, the same botanical principles apply.
Step 1: Plan the Habitat, Not the Container
Before touching soil, decide what environment you’re mimicking:
- Tropical forest floor (dart frogs, day geckos, small invertebrates)
- Cloud forest (orchids, moss-forward builds, cooler temps)
- Subtropical woodland (anoles, skinks, many isopods)
Ask:
- Humidity: High (80–100%), moderate (60–80%), or seasonal swings?
- Light level: Deep shade, dappled, or bright understory?
- Occupants: Will there be amphibians, reptiles, or only plants and invertebrates?
Your answers will guide every choice that follows: substrate texture, plant palette, cleanup crew, and even the type of leaf litter.
Step 2: Layering and Drainage – Building the Ground from the Bottom Up
Bioactive vivariums are built in stratified layers, much like a forest soil profile. Good layering keeps roots healthy, prevents foul anaerobic pockets, and anchors hardscape.
1. Drainage Layer
This is the foundation that captures excess water.
Materials:
- Expanded clay balls (LECA / hydroton)
- Lava rock or pumice
- Coarse aquarium gravel (for larger tanks)
Rinse thoroughly, then add 3–6 cm (or more in tall tanks). The goal is to create a porous reservoir where water can collect, keeping the upper substrate moist but not waterlogged.
2. Barrier Layer
Place a breathable barrier over the drainage layer to prevent substrate from sifting downward.
- Fiberglass screen
- Plastic mesh
- Fine root barrier fabric (not landscape fabric treated with herbicides)
Trim it to fit snugly, allowing water to percolate without soil migration.
3. Bioactive Substrate Layer
This is the beating heart of your system—where fungi, bacteria, and microfauna transform waste into plant nutrients.
For a humid tropical vivarium, start with a mix like:
- 40% coco fiber or peat – moisture retention and structure
- 20% fine orchid bark or shredded hardwood – aeration and fungal habitat
- 20% leaf litter fragments – food for microfauna
- 10% sand – drainage and mineral texture
- 10% worm castings or screened compost – fertility and microbiology
Mix until the substrate is crumbly, dark, and smells like a forest after rain. It should hold shape when squeezed but crumble when prodded.
Press it in at 5–10 cm depth, sloping it slightly to create visual depth and areas of varied moisture.
4. Leaf Litter and Mulch
A living forest floor is never bare. Add a generous layer of leaf litter:
- Magnolia
- Live oak
- Indian almond (catappa)
- Sea grape
Avoid conifer needles and aromatic leaves. Add cork chunks and small bits of rotting wood; these become micro-habitats for springtails and isopods.
Step 3: Plant and Moss Selection – Painting with Living Greens
Choose plants that match the moisture and light levels of your planned habitat and the eventual animal load.
Foreground: Groundcovers and Creepers
Look for compact plants with fine texture:
- Fittonia (nerve plants) – jewel-like foliage for humid, shaded builds
- Peperomia species – thick leaves, many textures and colors
- Selaginella (spikemoss) – lush, mossy look in high humidity
- Pilea depressa / P. glauca – delicate cascades over stone and wood
These knit the substrate together, soften hardscape edges, and create hiding spots for microfauna.
Midground: Bushy Structure
Add plants that give height and mass without overgrowing the tank:
- Anubias (in very moist, semi-submerged spots)
- Small ferns like Microsorum pteropus (Java fern) or Asplenium spp.
- Smaller Philodendron or Rhaphidophora cultivars for tropical climbing forms
- Begonia species suited for terraria (rhizomatous, not cane types)
Plant them in clusters, leaving open glades for animal movement and visual relief.
Background: Climbers and Epiphytes
Use vertical space like a living tapestry.
- Creeping fig (Ficus pumila) – a fast wall-coverer (great in large tanks; prune often)
- Hoya and Dischidia – waxy, vining epiphytes for bright, warm builds
- Miniature orchids and bromeliads – mount on cork with sphagnum
Anchor epiphytes with thread or plant ties and mist them while roots establish.
Mosses: The Breath of the Forest Floor
Moss gives your vivarium a soft, saturated look and helps maintain humidity.
- Sheet moss – for carpets along stone and wood
- Cushion moss (Leucobryum) – for hummocks and mounded accents
- Java moss and related aquatics – on constantly moist surfaces or water features
Press moss firmly against moist substrate or hardscape. Keep humidity high and light moderate while it knits in.
Step 4: Introducing the Cleanup Crew – Engineering the Microfauna
Cleanup crews turn your vivarium into a functioning ecosystem. They shred leaf litter, consume mold and feces, and aerate the soil.
Core Microfauna
- Springtails (Collembola) – tiny white dots that hop when disturbed; mold control specialists
- Isopods (woodlice, roly-polies) – many species, from hardy Porcellio scaber to moisture-loving Armadillidium nasatum
Add them only after plants are in and the substrate is evenly moist.
- Gently pour springtails (often sold in charcoal) into the leaf litter and damp areas.
- Place isopods under cork bark and within piles of damp leaf litter.
Supplemental Decomposers
Depending on your region and rules, you may also incorporate:
- White worms or Enchytraeids – small detritivores in very damp soil
- Beneficial nematodes – to help balance soil fauna
Feed your cleanup crew occasionally with:
- A slice of zucchini or sweet potato
- A pinch of fish food flakes
- Crushed cuttlebone for calcium (especially for isopods)
Remove uneaten food before it rots excessively.
Step 5: Humidity and Lighting – Mimicking Sky and Weather
Humidity Management
In a well-planted bioactive vivarium, moisture cycles slowly:
- High humidity (70–100%): Ideal for tropical amphibians and mossy builds.
- Moderate humidity (50–70%): Works for many reptiles and hardy plants.
Tools and practices:
- Use a glass lid or tight-fitting top to retain moisture.
- Add ventilation slots or small fans for species that need fresh air.
- Mist by hand daily at first, then adjust frequency once you see how fast moisture evaporates.
- Observe condensation: light fog on the glass each morning that clears by midday is a healthy sign.
Lighting: Photosynthesis in a Box
Plants require full-spectrum light, not just what pleases your eyes.
- Choose an LED plant light with a color temperature of 5000–6500 K.
- Aim for 10–12 hours of light per day; use a timer.
- For moss-heavy, low-light builds, keep intensity gentle and diffuse.
- For bromeliads and high-light plants, gradually acclimate them to brighter conditions to avoid leaf burn.
Watch your plants: leggy, pale growth indicates not enough light; scorched or bleached leaves may mean too much.
Step 6: Long-Term Care – Gardening the Micro-Jungle
A bioactive vivarium is never “finished.” It grows into itself like a young forest.
Weekly Rituals
- Check moisture: Gently dig a fingertip into the substrate. It should feel cool and moist, not soggy.
- Prune plants: Trim wandering vines and yellowed leaves. Use clean scissors.
- Wipe glass: Use a damp cloth for inside algae and mineral films.
- Spot-feed cleanup crew: Offer a small piece of vegetable or leaf litter if populations seem to dip.
Monthly and Seasonal Tasks
- Top up leaf litter: Add fresh, dried leaves when the old layer thins.
- Assess root zones: If a plant is overly pot-bound or shading everything, divide or rehome it.
- Stir gently (if no burrowers): In animal-free displays, gently fluff compacted areas to keep them aerated.
Watching for Imbalance
Pay attention to small shifts:
- Persistent foul odor: Indicates anaerobic rot—improve drainage or reduce watering.
- Explosive mold blooms: Usually temporary; springtails will catch up, but reduce feeding and increase ventilation.
- Exploding isopod numbers: Cut back on high-calorie foods; add more leaf litter instead.
Adding Animals (Optional but Common)
If you plan to add reptiles or amphibians:
- Cycle the vivarium first for at least 4–8 weeks. Allow plants to root, microfauna to establish, and the system to stabilize.
- Test and tune humidity and temperature before introducing animals.
- Provide multiple microclimates: a drier corner, a moist hide, elevated perches.
Once animals are added, your role shifts from designer to steward—monitoring health, behavior, and the subtle conversation between animal, plant, and soil.
Conclusion: Learning to Read the Glass Forest
A bioactive vivarium rewards close observation. You’ll learn the language of curling fern fronds that want more humidity, of moss that glows brightest under just the right light, of isopods disappearing deeper into the litter before a storm front.
With thoughtful layering, plant selection tuned to your climate, an industrious cleanup crew, and mindful care, your glass box becomes a living, breathing biome—an intimate landscape that thrives because every component, from moss to microbe, has been given what it needs to grow.