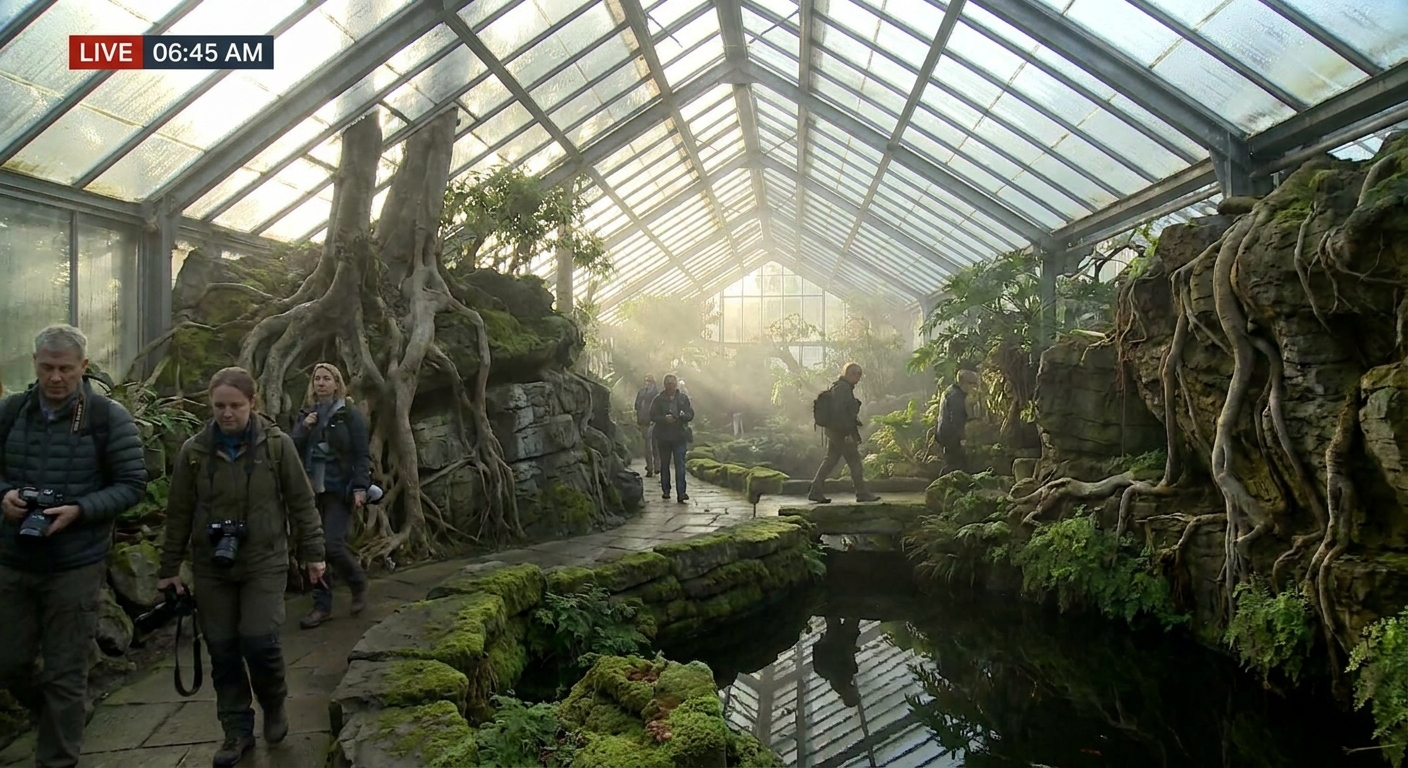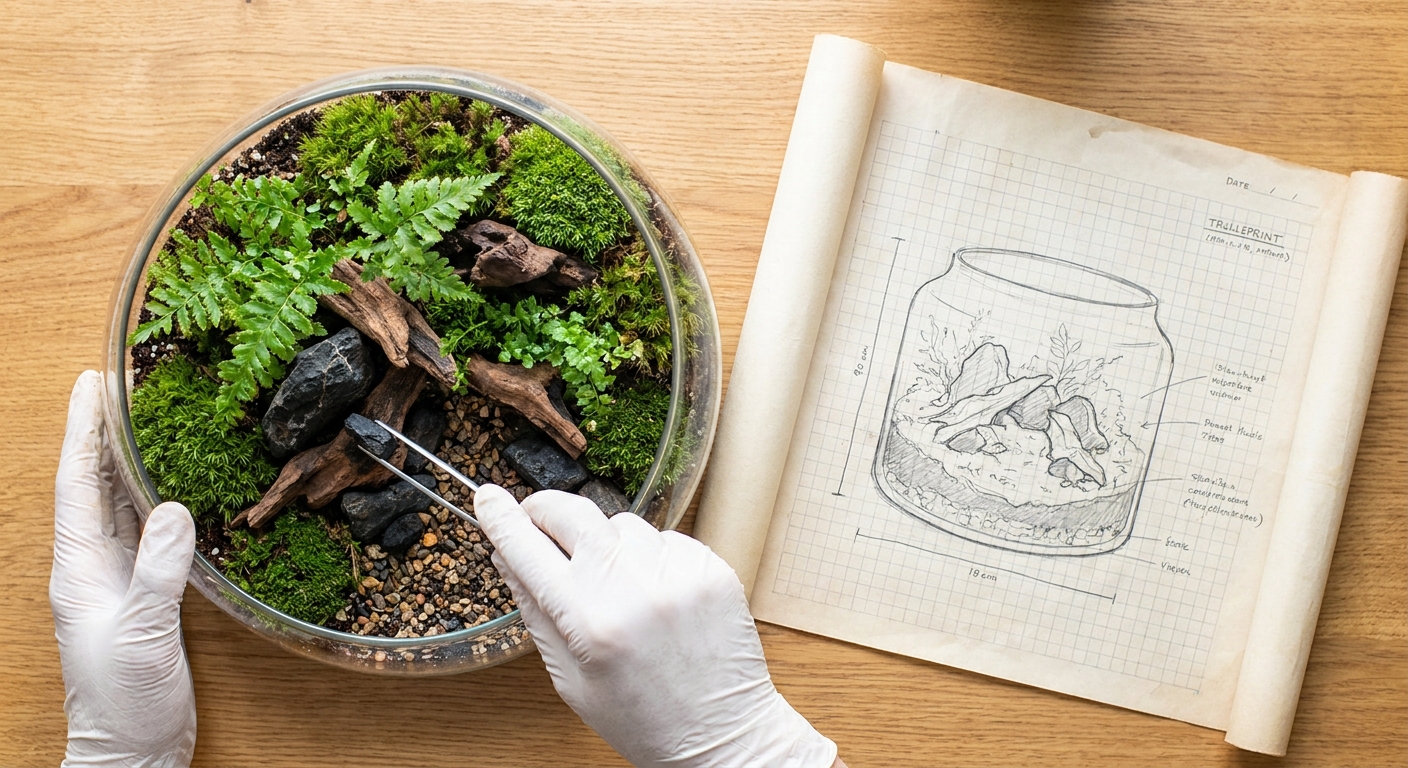
A terrarium rarely fails because a single plant sulks. It fails when the layout ignores water paths, root space, airflow, and the quiet needs of microfauna. Hardscape and layout are your blueprints in miniature—they determine whether your glass world runs smoothly for months or quietly stagnates.
Why Layout Matters More Than You Think
This step‑by‑step method walks you from empty glass to fully planted, bioactive hardscape, with an emphasis on function: drainage, layering, cleanup crews, humidity, lighting, and long-term care.
Step 1: Read the Vessel
Before choosing a single stone, study your container.
Ask:
- Is it open, lidded, or sealed?
- Is it tall and narrow or low and wide?
- Where will the light source sit?
Tall, lidded containers favor vertical wood, cascading moss, and high humidity species. Wide, open bowls want low stone ridges, drought-tolerant plants, and stronger airflow. Let the glass shape the story.
Mark (mentally or lightly with tape) a front viewing panel, then imagine how your eye will travel through the scene.
Step 2: Build the Hidden Foundation (Drainage & Base)
Create a Water Safety Net
A healthy root zone stays moist but not waterlogged. To achieve this, add a drainage layer:
- 2–5 cm of expanded clay (LECA), lava rock, or coarse gravel.
- For tall vivaria, slope this layer slightly toward the back to hide any waterline from the front view.
Rinse materials to remove dust, which clouds the drainage and the glass.
Add a Breathable Barrier
Place a piece of mesh or landscape fabric over the drainage media. Cut it to fit snugly.
This keeps the substrate from filtering down over time, preserving pore spaces that:
- Store excess water.
- Provide moist refuges for springtails.
You’ve now created a hidden aquifer under your forest floor.
Step 3: Mix a Substrate That Feels Like Forest Soil
A good substrate smells faintly of woods after rain—crumbly, not muddy; rich, but not heavy.
Try this base recipe (adjust as needed):
- 40% coco coir or peat, sifted.
- 25% fine orchid bark or aged hardwood chips.
- 15% pumice, perlite, or lava sand.
- 10% shredded leaf litter (untreated, dried leaves).
- 10% horticultural charcoal or biochar.
- A pinch of sphagnum moss fibers for lasting moisture pockets.
- Crumbled eggshell or cuttlebone if you’ll keep isopods.
For bioactive builds, stir in:
Moisten the mix until it clumps lightly in your hand, then breaks apart. Add 6–10 cm depth depending on plant root needs.
Sculpt it now:
- Raise the back and one corner for drama.
- Create a shallow valley or swale where water will naturally collect and slowly wick away.
Step 4: Hardscape Layout Using a Simple 3‑Zone Plan
To avoid cluttered designs, divide the footprint into three functional zones:
Anchor Zone (Focal Point)
Transition Zone (Midground)
Refuge Zone (Microfauna & Shade)
4.1 Anchor Zone: The Focal Geometry
Choose your main hardscape element:
- A tall branch, arch, or root twist.
- A bold stone or cluster of stones.
Place it off-center in the mid‑back area. Slightly tilt stones into the substrate so they look embedded, not perched. Let wood lean forward or sideways to break the vertical monotony and cast natural shade.
Press substrate firmly around the bases to remove voids where collapsing soil might uproot plants later.
4.2 Transition Zone: Steps and Slopes
Between the anchor and the front glass, build smaller shapes:
- Secondary stones arranged as if they’ve tumbled from the main rock.
- Shorter branches echoing the direction of the main root or trunk.
Create terraces by packing substrate against stones, forming shelves where midground plants can root securely without sliding.
4.3 Refuge Zone: Hidden Life Support
Reserve at least one shaded, slightly recessed area—behind a large stone, under an overhang, or along the back wall. Here you’ll concentrate:
- Leaf litter
- Moss
- Microfauna
This cooler, darker zone becomes the engine of your bioactive system, sheltered from harsh light and rapid drying.
Step 5: Plant and Moss Selection by Micro‑Niche
Now match plants to the microclimates you’ve created.
Mosses for Stone and Wood
- Christmas moss (Vesicularia montagnei): Drapes beautifully over vertical wood, creating dripping, forested lines.
- Java moss (Taxiphyllum barbieri): Reliable for wetter crevices near water features.
- Cushion moss (Leucobryum spp.): Perfect for convex stone tops and raised knolls.
- Riccardia chamedryfolia: Superb for detailing small stone faces and branch forks.
Gently press moist moss fragments into rough surfaces. Mist heavily after application; they’ll adhere as rhizoids grow.
Background & High Points
For the upper slopes and wood tips:
- Selaginella kraussiana: Spreading, ferny mats in consistently moist spots.
- Miniature ferns (Davallia, Pteris, Microsorum spp.) in shaded, humid corners.
- Small epiphytic orchids (e.g., Pleurothallis, Lepanthes) tied or glued (with cyanoacrylate gel) to bark or cork.
Midground Structure
In the terraces and slopes:
- Peperomia (caperata, prostrata, hope): Compact nodes that hug the contours of rock.
- Pilea (glauca, depressa): Creeping stems soften stone edges.
- Fittonia: For bright foliage color in humid, semi‑shaded pockets.
Foreground & Path Edges
At lower, more visible levels:
- Tiny ferns like Hemionitis arifolia (if space allows) near moist valleys.
- Liverworts and very fine moss along the front edges for a stitched, finished look.
Leave small, open sand or fine‑grit patches if you prefer the suggestion of a path or dried wash.
Step 6: Seeding the Bioactive Engine
Introducing Cleanup Crews
Once planted and lightly watered, it’s time to add life to the substrate itself.
Springtails (Collembola):
- Tap culture media onto the moist substrate and leaf litter.
- They’ll spread into drainage layers and under bark, grazing on fungi and mold.
- Place small clusters of dwarf whites or powder blues/oranges under leaf litter in the refuge zone.
- Provide extra crushed eggshell or cuttlebone nearby for shell development.
Isopods:
These organisms convert shed leaves, dead roots, and animal waste (if housing animals) into nutrients plants can reuse.
Leaf Litter as Fuel and Habitat
Scatter a layer of dried oak, beech, or magnolia leaves over at least one‑third of the substrate:
- Tuck leaves halfway under rocks and wood for a natural look.
- Avoid soft, quickly rotting leaves like maple—they can smother the surface.
The rustle of this layer, when misted, softens sound and sight, making the terrarium feel like forest duff in miniature.
Step 7: Tuning Humidity and Light to the Layout
Humidity Gradients
- Lidded builds with heavy hardscape will trap 70–95% humidity. Crack the lid slightly or open once daily if condensation is thick and persistent.
- Open builds may sit at 50–70%, favoring mosses that tolerate brief drying and plants like Peperomia.
- Heavy fogging near a particular stone or wood element can signal a cool, moist microclimate—ideal for sensitive mosses.
- Dry spots along raised ridges may need occasional direct misting.
Watch where condensation forms:
Lighting Strategy
Use full‑spectrum LEDs above the enclosure for 10–12 hours daily.
Match intensity to layout:
- Brightest light over the anchor zone to spotlight your main feature and high‑light plants.
- Slightly dimmer edges, either by distance or adding a bit of shading with overhanging wood, to create restful transitions.
If moss bleaches or ferns crisp at the tips, raise the light or shorten the photoperiod.
Step 8: Establishing a Maintenance Rhythm
Weekly Tasks
- Check moisture: Press a fingertip into the substrate; it should feel cool and damp but not soupy.
- Clean glass: Use a soft cloth to remove algae and water spots, preserving clarity while leaving a light patina on non‑viewing sides.
- Spot‑trim plants: Snip back any stems shading slow growers.
Monthly Checks
- Assess root behavior: If plants push away from stones or lift moss, gently re‑tuck or trim.
- Refresh leaf litter: Add a handful where it has been fully broken down.
- Top up microfauna: If you notice mold outbreaks or reduced isopod activity, re‑seed springtails or isopods.
Seasonal Adjustments
Room humidity and temperature shift with seasons:
- In dry winter air, increase misting or partially cover vents.
- In muggy summers, emphasize ventilation and reduce watering.
Your layout—with its shaded refuges and raised dry zones—gives you room to adapt without tearing down the build.
Troubleshooting Common Layout Issues
Problem: Plants at the back rot, while the front stays healthy.
- Likely cause: Saturated substrate at the rear with poor airflow.
- Fix: Increase the slope toward the front slightly; add ventilation; swap water‑hungry plants to that area.
- Likely cause: Too much drying between mists.
- Fix: Add a tiny ledge above to catch mist and drip down, or partially shade that rock face; mist more finely but more often.
- Normal in early weeks, but if lingering:
- Reduce watering slightly.
- Add more springtails.
- Break up dense, unventilated clumps of moss.
Problem: Moss refuses to colonize vertical stone.
Problem: Persistent surface mold after setup.
From Blueprint to Breathing Landscape
By treating hardscape and layout as a functional blueprint, not mere decoration, you give your terrarium the structural intelligence of a real ecosystem. Water has clear paths. Roots find air. Microfauna have refuge and food. Light and shade fall in deliberate gradients.
The payoff is subtle but profound: instead of constant intervention, you become a quiet caretaker, guiding a self‑adjusting, bioactive landscape that matures with time—stone softening under moss, wood darkening with lichens, cleanup crews whispering unseen beneath the leaves.